corporate
A Product Launch Photo Plan That Captures the Room, the Product and the Response
A practical still-photo plan for US product launches: map the must-have moments, coordinate the room, invite useful guest perspectives and prepare images for reuse.
The onesnap team · 25 September 2026 · 7 min read

A product launch has more to capture than the moment a product appears on stage. The useful stills show where the launch happened, how the space felt, what attendees saw first, how people interacted with the product and which details made the occasion recognisably yours.
That range does not happen by asking someone to “get plenty of photos”. It comes from a short, written plan that gives each part of the event a purpose. The goal is not to document every second. It is to leave with a balanced visual record that your team can understand, sort and use after the room is cleared.
Start with the post-launch use
Before deciding what to photograph, decide why each image may be needed. List the channels and likely secondary uses: an internal recap, a media kit, a sales presentation, event reporting, social posts, a future case study or a campaign page. Defining intended outcomes, distribution channels, secondary uses and required subjects before commissioning coverage is recommended in Saint Mary’s photo project guidance.
This step changes the shot list. A website header may need a wide room scene with uncluttered space to one side. An internal recap may need the people who made the launch happen. A product team may value close, clear views of a demonstration setup. Put the intended use next to each priority, so the capture team understands what makes a frame successful.
Build a written shot list, then name an owner
Event-planning guidance recommends making a list of the VIPs and programme elements that must be photographed, then keeping the photographer updated about location or timing changes on site. See the Georgia Tech event planning checklist.
Keep the list focused enough to act on. Divide it into five coverage groups.
1. Place the launch in context
These photos establish the setting before anyone needs to explain it:
- Exterior arrival view, building entrance or venue signage
- Branded welcome area and registration moment
- A broad room scene before the programme starts
- Activation or display areas with attendees in the foreground and background
- Environmental details that show the atmosphere: lighting, staging, table settings, wayfinding or event materials
The University of Illinois event-photo guide identifies exterior, sign and broad attendee scenes as useful establishing coverage. Capture the room both before it fills and when people are naturally using it. The first is often cleaner; the second better communicates energy and scale.
2. Make the product easy to see
A product launch should not rely on one hero image. Plan for a mixture of:
- Carefully arranged product or display details
- Product-in-hand images, where appropriate
- Medium shots of a hands-on demonstration
- The product in relation to its display, signage or relevant visual material
- Detail photos of the elements attendees are invited to inspect
The same Illinois guide recommends product details, posed product-in-hand frames and images of demonstrations or hands-on use. If the product has a screen, reflective surface, tiny detail or busy display area, test the setup during the walk-through. A good-looking display can still be difficult to photograph once attendees, staff and event lighting are in place.
3. Cover the launch moment itself
Write down the exact moments that cannot be recreated: opening remarks, key speaker introductions, the reveal, first demonstration, a ribbon-cutting-style moment if relevant, and the immediate response from the room.
For every programme item, specify the subject and what needs to appear in the frame. For example: “speaker with product visible”, “reveal with brand mark readable”, or “audience reaction with stage in the background”. This avoids a common gap: polished images of a presenter with no visible product, or clear product images with no sense of the occasion.
4. Show human interaction, not just attendance
People make a product launch believable and memorable. Brief your team to look for small groups in conversation, attendees speaking with staff, hands interacting with the activation, natural greetings and reactions around the display. These are all forms of event coverage recommended in the Illinois guide.
Avoid treating every guest photo as a posed line-up. A few intentional group portraits can be useful, especially for executives, partners or the event team. But candid interaction will usually give the final collection more texture.
5. Plan flexible compositions
Ask for a mix of landscape, portrait and angled frames. Where a photo may later carry copy, leave intentional negative space rather than trying to add it afterwards. This is also recommended in the UC Agriculture and Natural Resources communications toolkit.
Add a simple note to your list: “wide, medium and detail”. It is an easy prompt that reduces near-duplicate images and gives your comms team options later.
Walk the room before doors open
Bring the event lead, venue contact and still-photography lead together for a pre-event walk-through. Give them the event purpose, run sheet, room appearance, expected attendance and a reliable day-of contact. Photography guidance from the Clerc Center also recommends allowing time to scout before coverage begins.
During the walk-through, identify:
- The cleanest angle for the stage or presentation area
- Where the product will look best and be easiest to approach
- Busy pathways that should remain clear
- Lighting changes between arrival, programme and networking
- The preferred position for each planned formal group photo
- A quiet corner for executive portraits, if needed
A room diagram is worthwhile for a launch with a formal programme, several capture roles or limited space. Princeton’s event photography guidance recommends meeting on site, agreeing positions and limiting unnecessary movement during the programme. Even a basic diagram helps avoid staff crossing key sightlines at the reveal.

Give guests a useful role
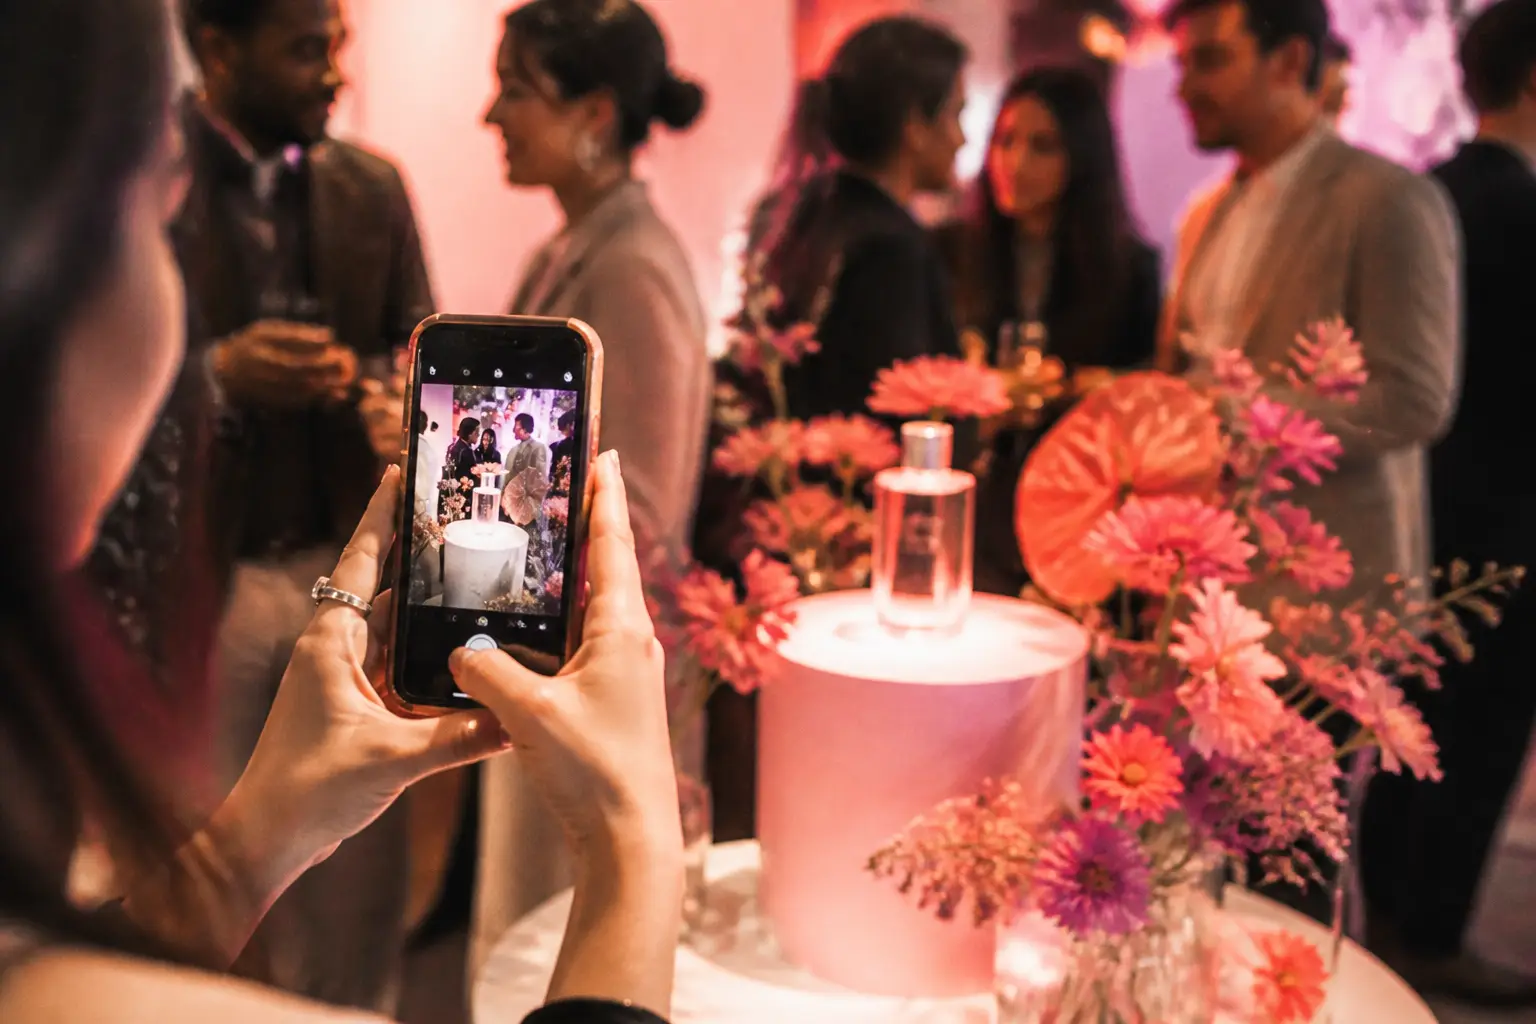
Your official still-photography plan should lead the must-have coverage. Guests, meanwhile, can contribute the perspectives your core team may not see: arrival conversations, a colleague’s first look at a display, the view from a table, a close-up of event details or a spontaneous group moment.
A shared guest photo roll works best when it has a clear job. Set up a onesnap event QR code or invite link at registration, near the product interaction area and in a follow-up message. Guests do not need an account or app download to join. Each guest photo is saved on their device before an upload is attempted, and queued photos can sync when connectivity permits.
Keep the invitation brief and specific. Instead of “share your photos”, try prompts such as:
- “Capture the first detail that caught your eye.”
- “Share the product from your point of view.”
- “Photograph a conversation or reaction that sums up the launch.”
- “Take one wide room scene and one close detail.”
When creating the event, choose a per-guest shot limit of 12, 24 or 36 photos, then choose when the shared roll is revealed. That creates a more deliberate contribution space rather than another unstructured request in the group chat.
Tell attendees clearly about photography
For a United States launch, put photography notice into the event plan rather than treating it as last-minute signage. UC Agriculture and Natural Resources advises posting notice at public events that photography is taking place and that participation acknowledges potential promotional use; see its communications toolkit.
Use wording that matches your actual intended use and registration process. Place it where guests can see it before entering, and make sure front-of-house staff know how to direct questions. For a launch involving invited minors, sensitive settings or particular contractual requirements, confirm the appropriate process with your organisation’s legal and privacy advisers before the event.
Make the handover useful, not overwhelming
The value of launch photography drops quickly if nobody can tell what an image shows. Keep a companion record with the date, place, event name, location, people involved and a clear description of the context. The UC Agriculture and Natural Resources toolkit recommends this kind of metadata because detailed descriptions make images easier to find and reuse.
After the launch, sort images into practical folders or collections:
- Venue and arrival
- Product and display details
- Programme and reveal
- Speaker and leadership moments
- Guest interaction and reactions
- Team, partners and formal groups
- Behind-the-scenes setup
For images selected for publication, write descriptive alt text that says what is actually visible and why it matters. UC ANR recommends specific alt text kept under 125 characters. For example: “Attendees examine the product display during the launch reception.”
Finally, compare the gallery with the original shot list. Mark the images that satisfy each priority, flag gaps while details are still fresh, and note what worked in the room plan. That final review turns one launch into a stronger starting point for the next one.
A complete launch collection is not simply a record of the stage. It is a visual account of the product, the place and the people who encountered it. With a purposeful shot list, a coordinated room plan and a simple route for guest contributions, you can capture those different angles without making the event feel like a photo shoot.
Sources and further reading
Written by the onesnap team with AI assistance. We never use customer photos, invent testimonials, or publish named competitor comparisons.
Read our editorial policyReady to see the night from every angle?
Create an event